A client reached out to me about repairing a treasured cardigan sweater that was badly damaged. It had been put away for years to protect it from further damage, but the client wanted it to be wearable once more.
We discussed the type of repair the client was looking for and agreed that I would look for a yarn that was a natural color but didn’t need to be an exact match to the existing sweater.
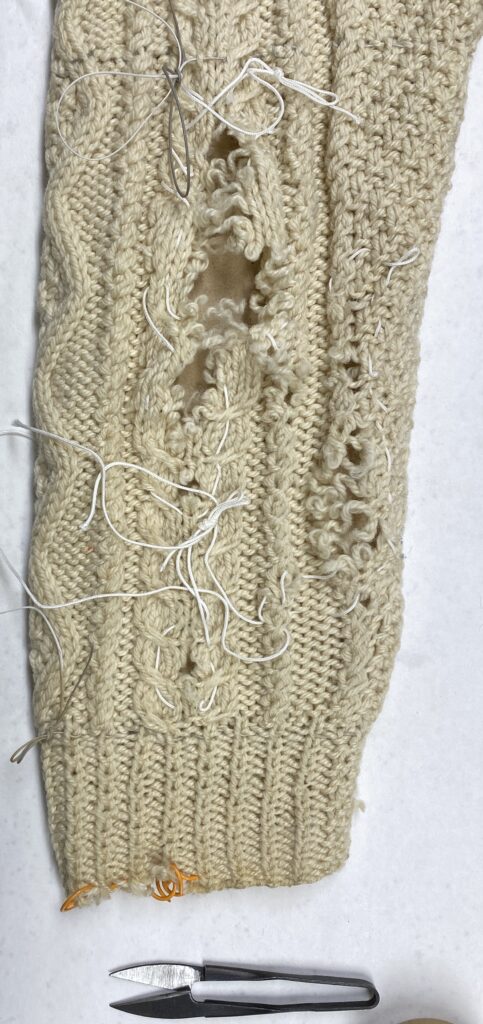
Both sleeves and cuffs had extensive damage and unraveling and there were many small holes and wear spots throughout the body of the cardigan.

After assessing the full extent of the repairs needed, I went shopping to find a good yarn to match the sweater as closely as possible.
I was very happy to find a skein of un-dyed, 100% wool at a local yarn store. It had a very similar feel to the yarn used in the original sweater. As a bonus, it was very close in color.
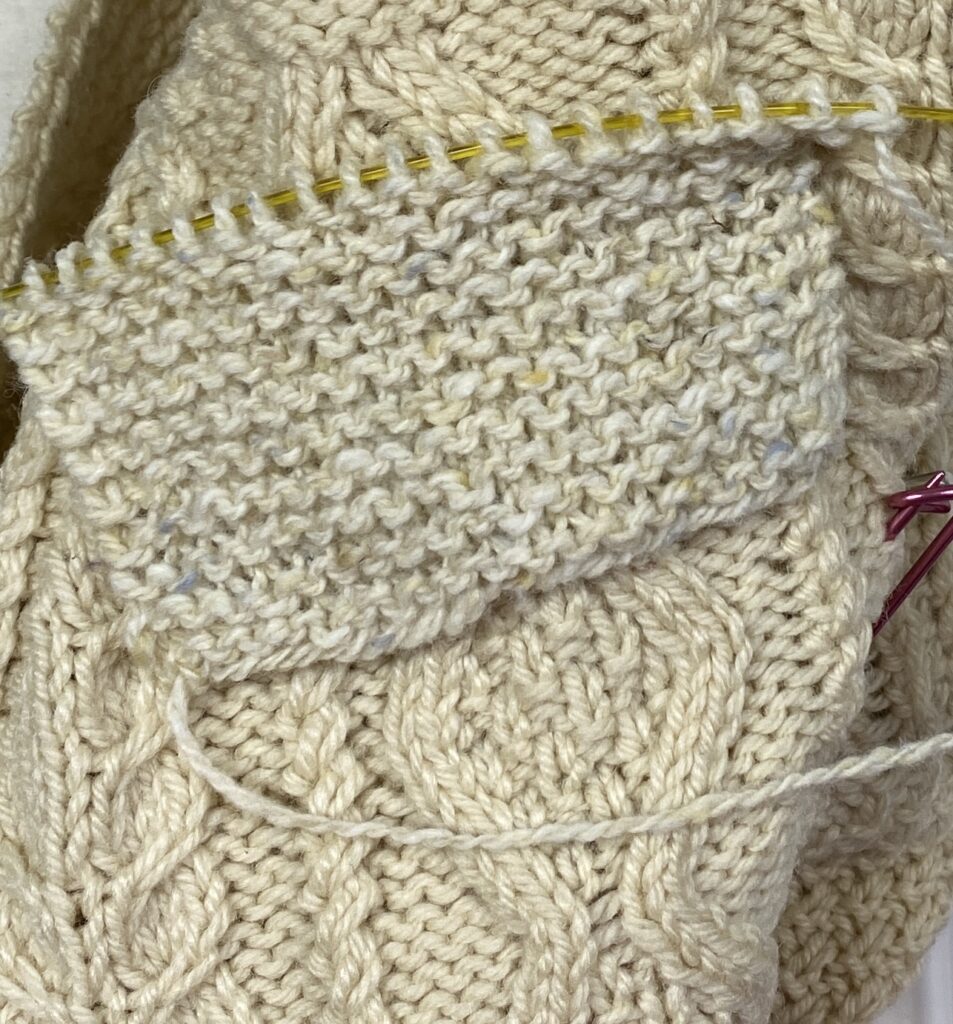
I then pulled some leftover yarn out of my stash and experimented with the best ways to do the various repairs needed. The issues that needed to be addressed ranged from stabilizing small holes to rebuilding entire sections of the sleeves and hem, so different techniques would be needed for the different repairs.
Once I’d gotten a feel for which repair techniques would work the best, I began to work on the sweater itself.
I started by stabilizing all of the damage I could find, I used a mix of nylon cord and split ring stitch markers. The goal was to keep as many of the original stitches from coming apart further while I worked on the repairs.
Now I could get to work.
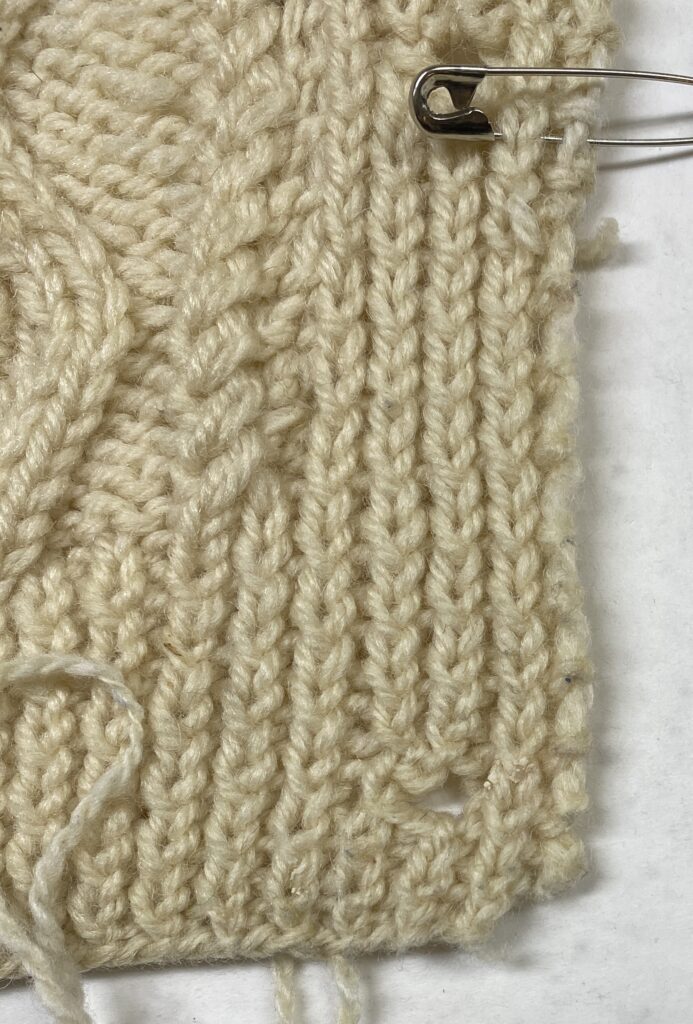
The repairs needed included: The edge of the button placket had many broken stitches that could unravel if left loose; and the corner of the hem was damaged and partially missing.
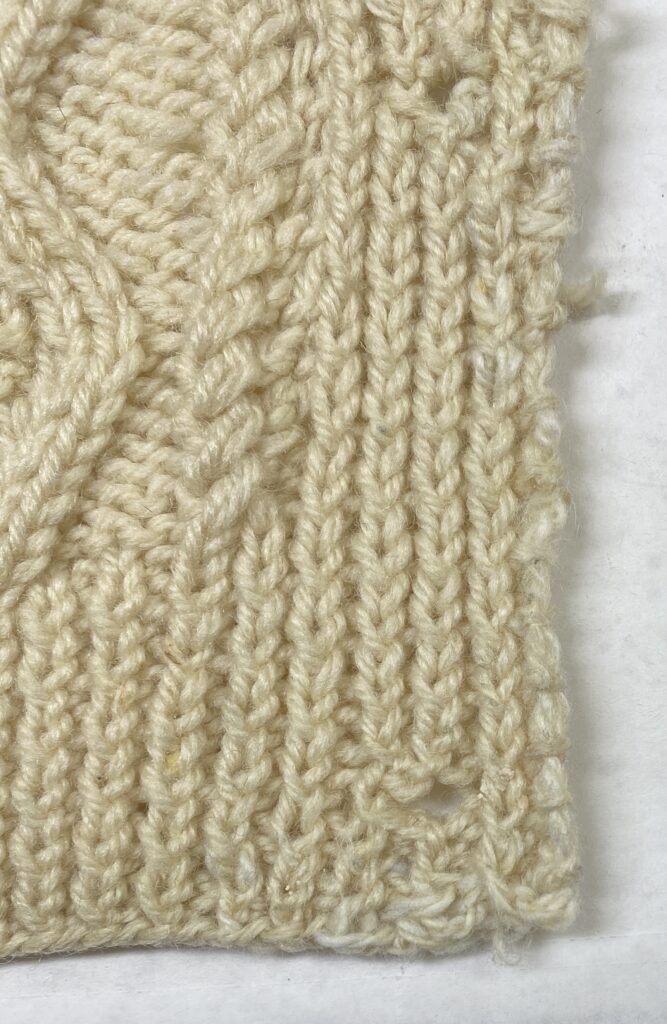
The most noticeable change is that the corner of the hem is now square, but the entire area has had broken stitches replaced with new yarn and the ends secured to prevent future damage.
Once all of the smaller repairs were done, I was ready to tackle the major damage to both sleeves. They were both missing sections of the cuff and forearm, so I chose to knit new sections and graft them in place. This did end up adding some additional bulk to the forearms of the sweater, but I wanted to err on the side of stability.
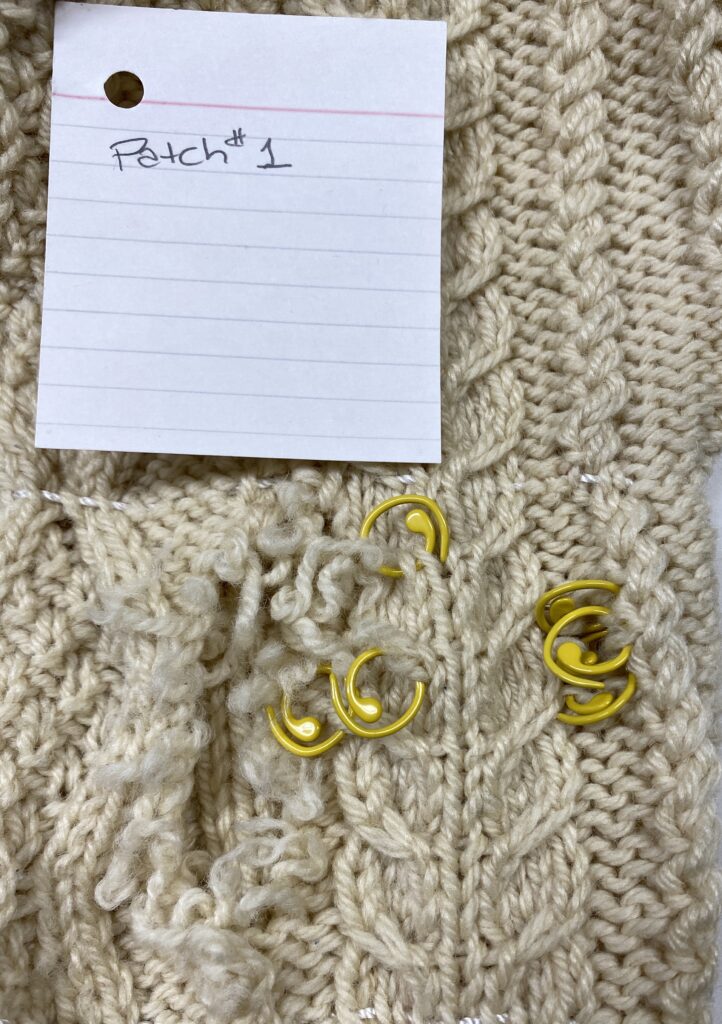
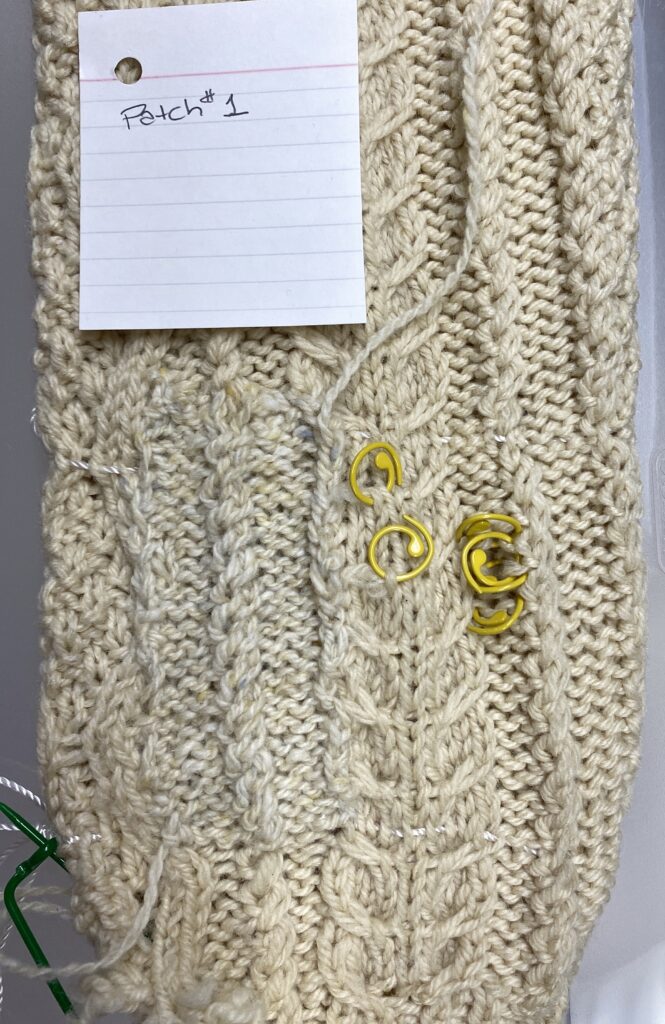
The stitch markers off to the right of the new patch are smaller breaks in the yarn that didn’t need an entire new patch made to be fixed.
Once all the knitting was done and the yarn ends were all woven in. I soaked the finished cardigan in cold water, blocked it, and let it dry. This helped set the new stitches set and blend in with the original knitting.
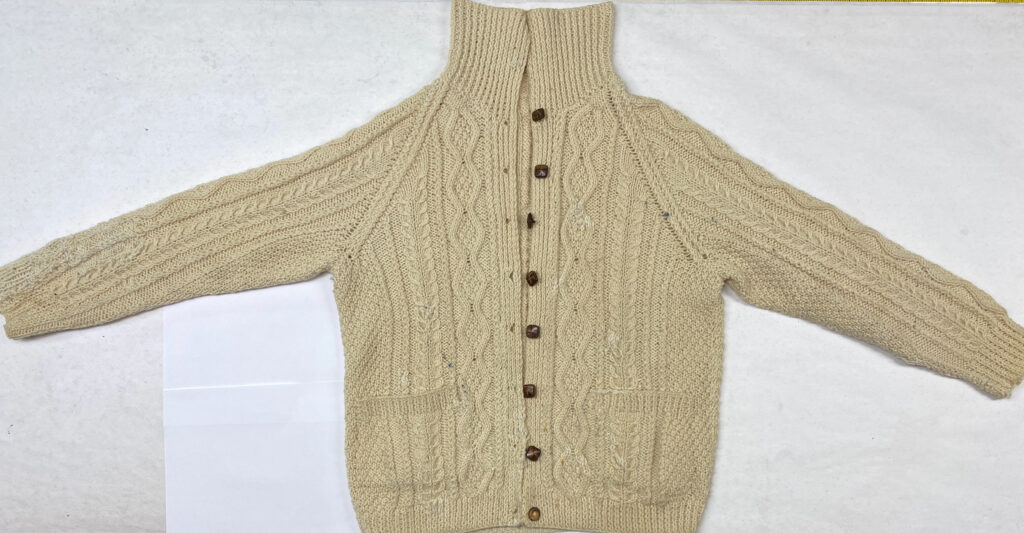
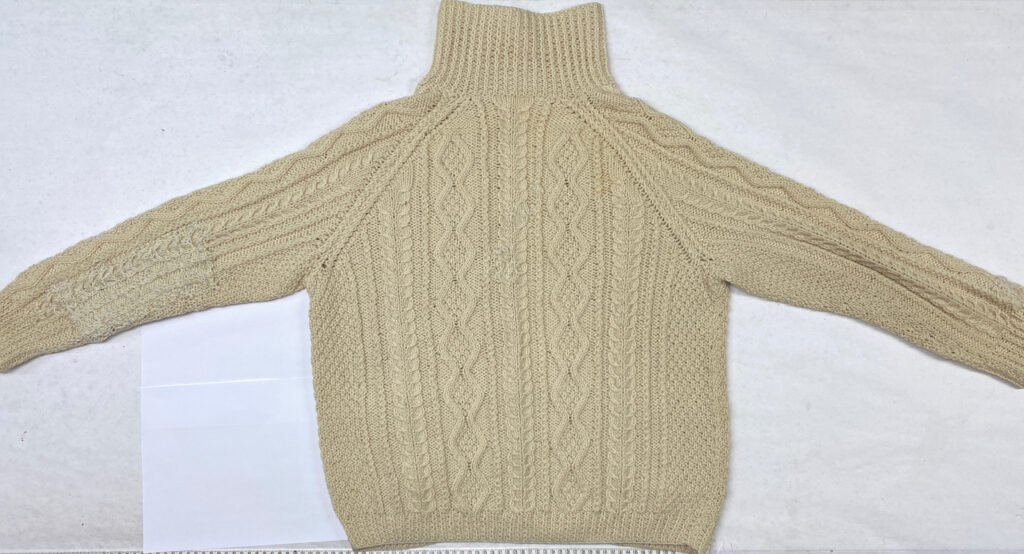
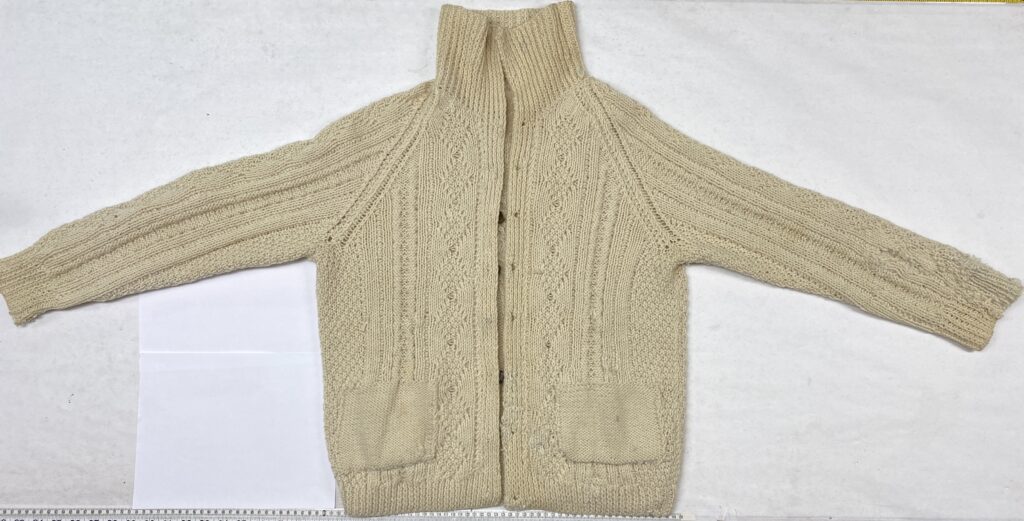
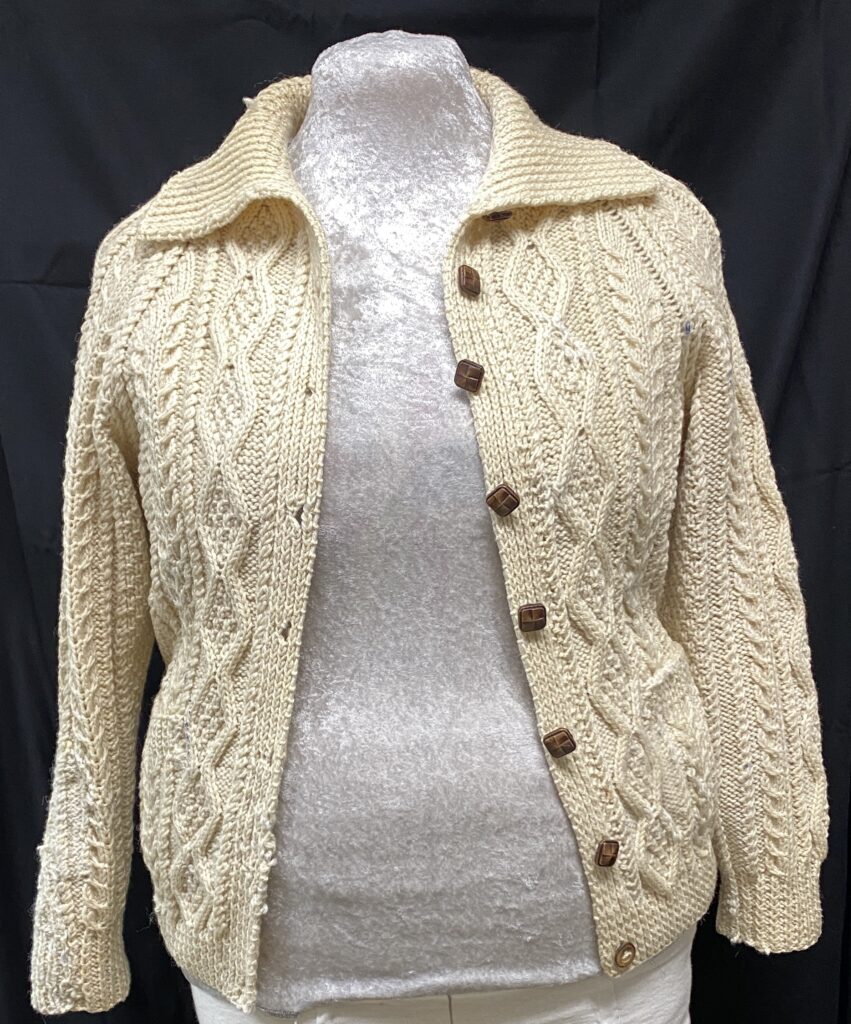
This cardigan sweater needed a lot of love and attention to bring it back to a usable condition. I fixed over 20 small holes, knitted and secured two large patches, rebuilt both cuffs and the hem in places, and repaired both pockets. The damage was a mix of wear and tear and moth holes.
It was well loved and well used before I repaired it; and I hope that it will have many more years of use and memory making now that it is restored.
